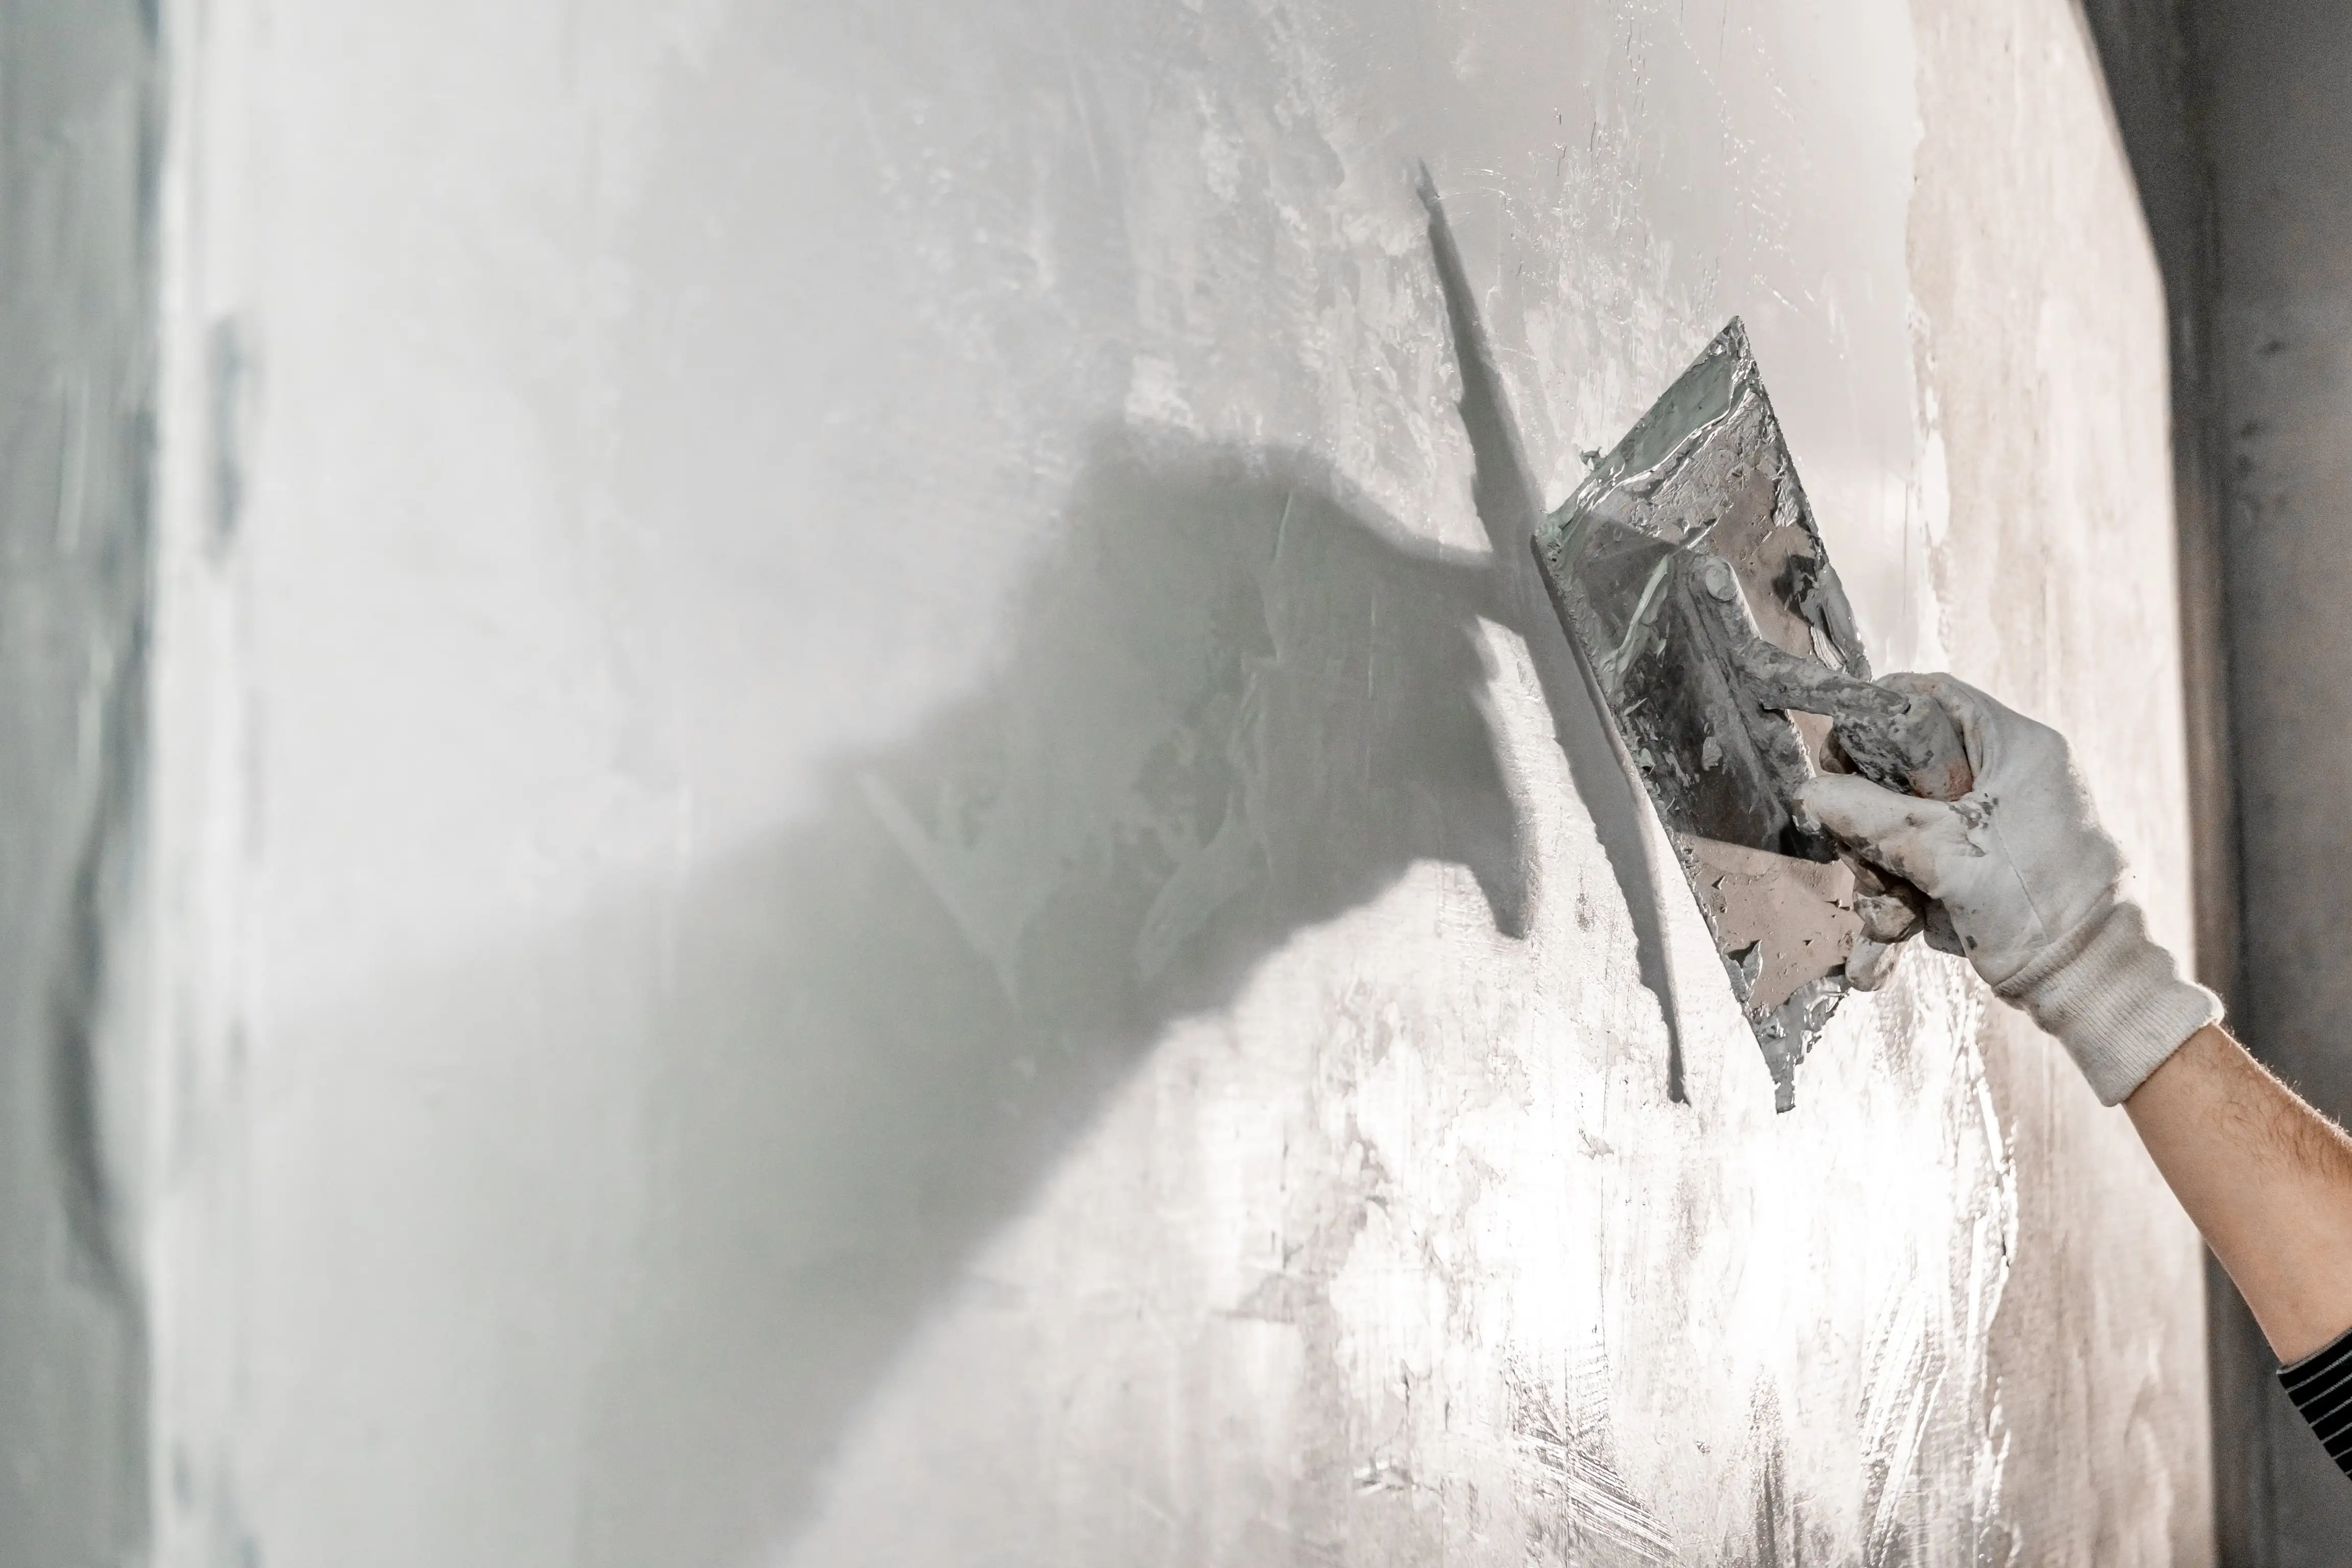
Method Statement for Repairing Damp Walls
In any kind of structural damage, damp walls have become a very common issue. In most cases, unhealthy living conditions and inappropriate maintenance of structures causes massive damages. At First Choice Speciality chemicals, we ensure long-lasting, durable repairs with our expert guide and specialized products. In this blog, we will discover an in-depth method statement for repairing damp walls with FCSC.

Steps of repairing damp walls
Removal of old plaster
In this initial step, first needs to remove old plaster by using hammer and chisel or any relevant plaster removal tool. In doing so, workers should take significant care to chip away with the plaster without damaging the underlying brickwork. Individuals following this step can expose the damp areas that can allow for a detailed inspection and possible treatment.
Cleaning the brick surface
After removing the old plaster from the visible part of the structure, the next step includes proper cleaning of the brick surface. In doing so, vinegar solution could have been effective for its acidic nature that can easily dissolve dirt and also cut through stains. In order to ensure cleaning on the brick surface, individuals need to mix vinegar with water in a 1:1 ratio by using a cloth to mop the brick surface with the solution. As a result, vinegar present solution may help to kill household bacteria and also dissolve hard- water characteristics to ensure clean and ready surface for further treatment.
Addition of liquid rubber waterproof coating
Once the surface cleaning is done, we suggest creating a slurry with CEMBOND SBR latex in this stage to steal and waterproof the brick surface. However, preparing slurry can be done by mixing 1 part of Liquid rubber with 4 parts water. After That, the addition of 6-7 parts of cement to this mixture can create a smooth slurry. Once the slurry has been prepared, it should be applied onto the brick surface through a brush or trowel so that a strong waterproof coating has been done. This coating acts as a primer and waterproofing layer that may improve the adhesion of those layers.
Applying the second coat
Apply the second coat of the liquid rubber slurry while it is tacky, within 30 minutes after completing the first coat. This step of this process makes sure that the brick surface has a strong and continuous Waterproofing of the damaged layer which keeps it moisture free and also keeps the wall from any moisture in future from damage of the wall.
Preparing and applying best polymer Mortar
After completing the second coat on the brick surface, you can prepare the best polymer Mortar with liquid rubber and water in this stage. Key objective of this stage is to improve adhesion as well as watertightness of liquid rubber applied Mortar, compared to conventional mortar systems. In doing so, we recommend to take a ratio for this mixture of 1: 6 part of liquid rubber to water. Once the best polymer Mortar has been prepared, it should be applied on the prepared brick surface with liquid rubber and finished smoothly, which helps to address the gaps as well as crevices are appropriately filled.
Curing the wall
Applying the Mortar, it is important to leave the wall for 5-7 days to cure. Once the drying period is done that may allow the material to set and harden appropriately which ensures a strong and durable repair.
Applying polymer modified wall putty powder
After curing the wall, individuals should apply polymer based wall putty including. At First Choice Speciality chemicals, we have our wall putty powder that helps to dry the wall. However, preparing the wall for final painting or any other decorative treatment, this wall putty provides a smooth finish. The polymer modification in the putty improves its adhesion and durability that helps to ensure long- lasting repair.
Conclusion The procedure of fixing a damp wall is labor intensive and requires specific tools and preparation. Following the steps discussed previously from Firstchoice Speciality chemicals pvt ltd, you can guarantee a long- lasting and efficient repair. Whether you plan to paint the repaired wall or leave it unpainted, this technique makes sure that your walls stay dry and safe for a longer period.